Ughhhh, Monday…sucks.
I have a great tutorial for you today though! It was my pride and joy and now it’s someone else’s baby (Sadly, I decided I didn’t need it and had no place for it so I sold it to a new home). Hopefully it will motivate you to get out there and try out upholstering too!
I bought this chair for $15 dollars at my local Goodwill. I was so pumped because it has beautiful lines.


Sophie decided she liked it too!

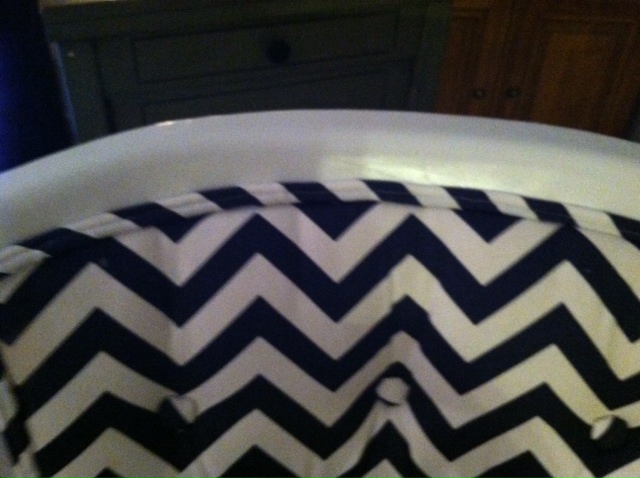
I decided to paint it white and use a navy chevron printed fabric. I got this printed duck (whatever that means, I just know it felt heavier than regular fabric) at Hobby Lobby.
I started by unscrewing the bottom seat from the chair frame. I had to gently take off the mesh covering that hid all the staples and extra fabric that was underneath the chair. I then used a screwdriver to detach the seat. To get the fabric off, I used a flat head screw driver to get under the staples to remove them…and there were a lot!

And I was left with this:

I was lucky with this chair. Al of the foam and batting was in great shape and had no odors so I was able to just reuse it all! If the foam/batting is saggy or smells, I would suggest replacing it. You can get both at a local craft store such as JoAnn Fabrics, or I heard that you can get the foam cheaper at Home Depot.
I then started on the double welt cord on the seat back. (**Remember what order you take things off in so that you remember how to put it back together! Pictures are great for this!) It was held onto the chair with staples so I took my flat head screw driver and got under the staples to get them out.
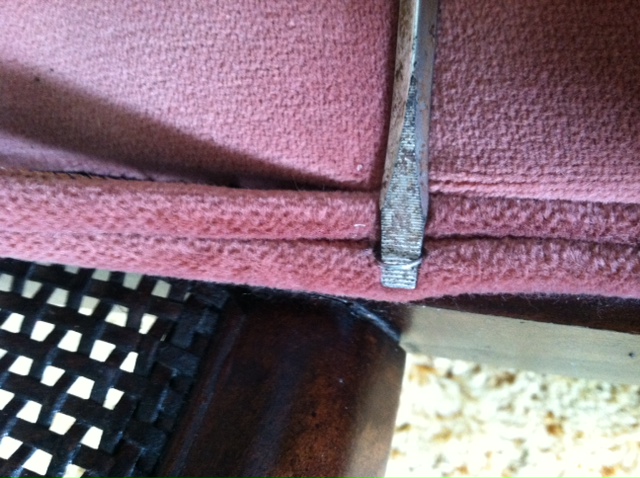
This got old fast and so it was easier for me to just grab an end of the cord and pull!
So many staples!! The ends were attached with a bunch of nails.

Next, go around the edges and remove all of the staples holding the back piece to the chair (yes, all of the previous million staples were just holding the cording on…crazy)


If a staple broke, I found it was easier to grasp it with needle nose pliers and rotate them so the staple curled around the pliers. The million staples went pretty quick.
Next, take the top piece off (shown below) and remove the staples from the back piece of fabric. (The piece that faces out when you look at the back of the chair.)

Save the old fabric remnants to use as stencils when cutting your new pieces.

Once I traced and cut my fabric (I cut an extra inch on each side just to have as a safety net), I attached my pieces. I started with the seat. I just went around the edges, pulled extra tight, and stapled. At a point where the seat curved inward, instead of sewing it to fit tight, I just manipulated the fabric around it because it was easier.
 I also folded the edges under so that I wouldn’t get any fraying edges.
All done!

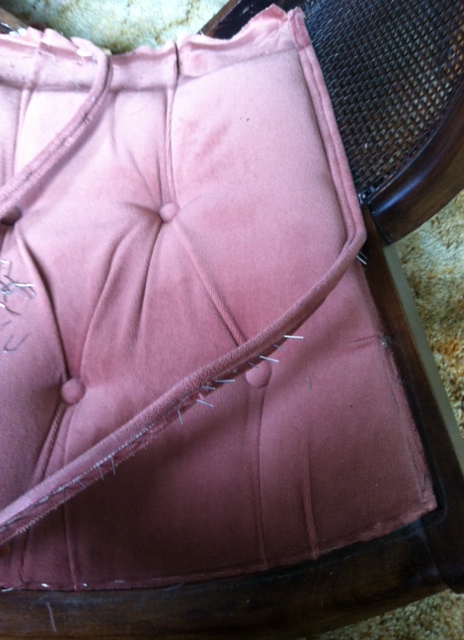
I next moved onto the back piece. This part had tufting but was super easy. The buttons were attached to metal parts that held them in place. All I did was cover the existing buttons with the chevron fabric using hot glue, then covered the piece with the chevron fabric, and just pierced the metal ends through into the existing holes! The fabric fell the way it was supposed to! Couldn’t have been easier!
I decided to paint the chair white rather than keep the wood since the wood was a little beat up. I would have had to sand the whole thing and then restain and seal, more trouble than I was willing to go through. I used wood filler to fix any dents and sanded it down lightly and applied a primer.
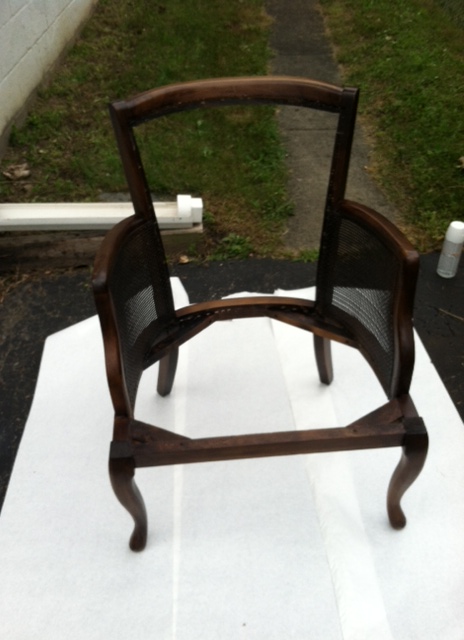
Before

After one coat of primer spray paint.
I used a glossy white spray paint which worked great! I only went through two cans too!
I decided to add a little more zazz and spray paint the bottom of the legs gold! I used metallic gold from Rustoleum. Love that stuff! Just taped the area off using painters tape and boom, done. Instant ZAZZ.
Once the paint was dry and I had let it cure for a couple days, the next step was attaching a piece of fabric onto to back of the chair from the inside of the chair frame. This was probably the trickiest part. I started by attaching the fabric to the frame at the top with my staple gun then just worked my way down the sides and finally the bottom You have to continuously check the back to make sure its straight and tight. Sorry I don’t have any pictures of this process ![]() .
.
I then used some of those tiny nails that you use to hang picture frames with to attach the back of the seat back onto the chair. My staples weren’t making the cut, they weren’t long enough. Then, just to see what the finished product would look like, I put the seat on the chair (didn’t attach) and seeing this gave me the motivation to finish it! Almost finished!

Tee only thing missing is the double welt cord. Now this part I hated…so much. I try to stay away from the sewing machine if I can. Although the tutorial I used was fantastic along with the help of my mother who I called constantly with questions…Sorry Mom!
The tutorial I used for making double welt cord can be found here. I then attached it to the chair using hot glue. This was easier and more practical for me personally.
The only two things left to do was reattach the seat with the screws and then staple the mesh bottom back on to hide it all!! Done!! Finished! So happy!
I love the feeling of finishing a project an just standing back and admiring it. Pride in what you do is so important! So without further ado, my pride and joy!


It makes me so happy. I’ll have a future post on the little aqua stand you can see in the picture above.
With the fabric and paint costs, as well as the cost of the chair itself, this makeover only cost me $50 to make. Not bad right?
Welp, that’s my tutorial today! I hope it motivates you to try your own hand at upholstery!
Question of the day:
What project that you’ve done are you most proud of?
~Amber

